Whether you are keeping this Valentine’s Day intimate with just your family or you are celebrating Galentine’s Day with your best girlfriends, I have you covered. There is nothing better then a waffle board mixed with fresh berries for the kids or loaded with chocolate served alongside a mimosa (or two). This board is sue to bring your loved ones together at the table.
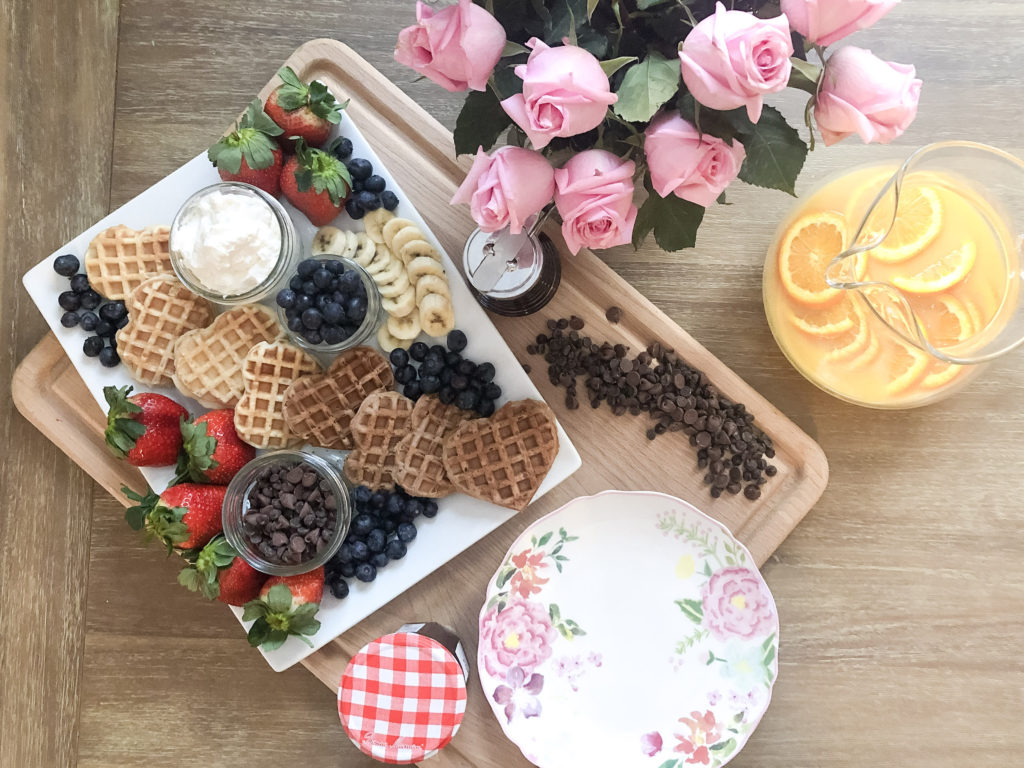
A Valentine’s Day breakfast board can be made with so many twists. It can be perfectly paired with a hot cocoa, fresh orange juice with orange slices of fresh or a mimosa. You can pair it with heart waffles and fresh fruit or made into a Galentine’s Day brunch. The heart waffle maker is a mini size, perfect for storage and under $10. It comes in two colors: red and pink. I chose to make regular waffles (I always add a drop of vanilla) and chocolate waffles (sub a little of the waffle mix with hot cocoa). So good! I just love the alternating color combination of the two as well.
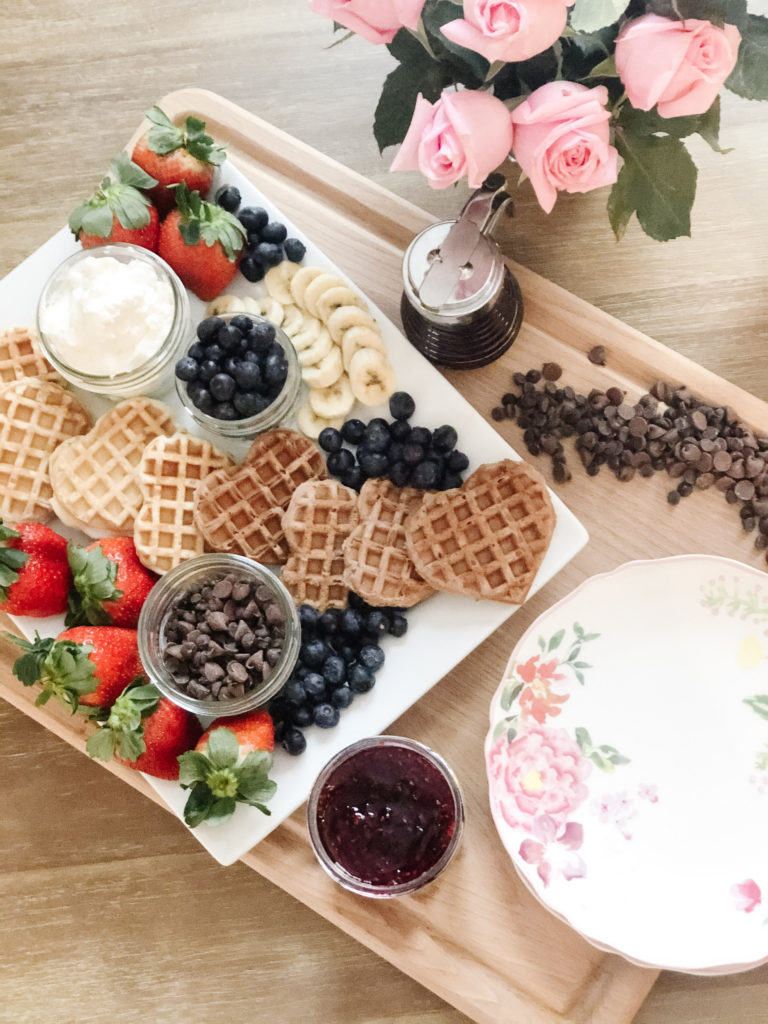
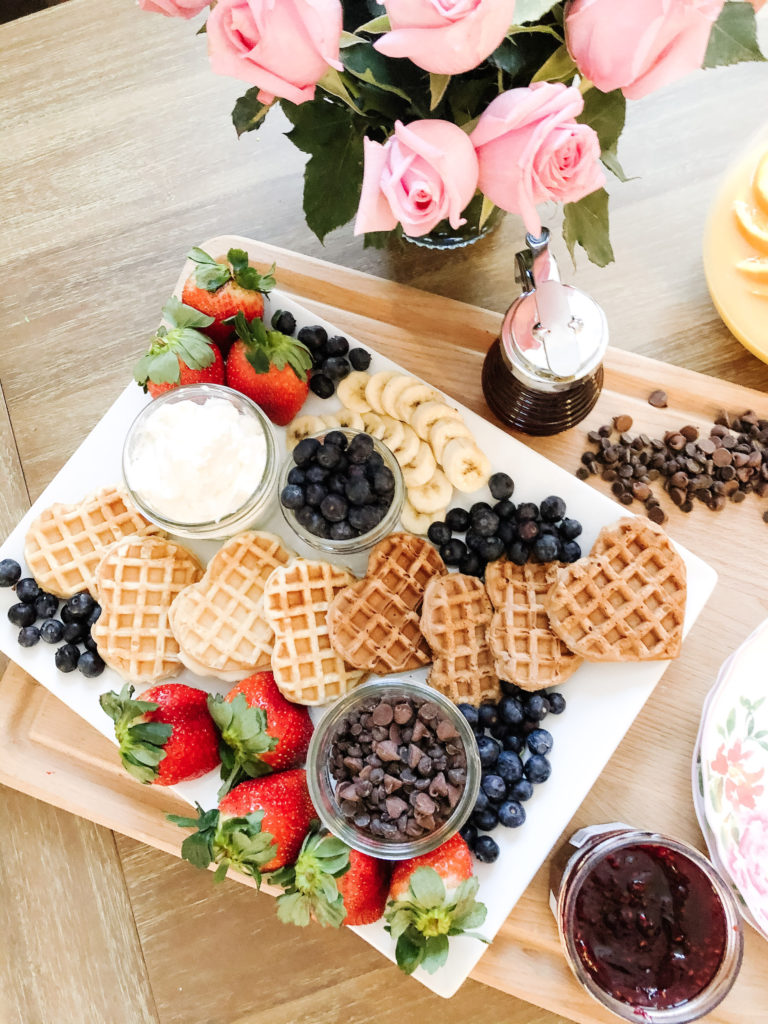
I made two different sized boards for breakfast to show you how you can tailor it to a small or large group of people. I personally love this small board and this large white platter. Remember, the platter you use does not always have to be wood, I personally love a white platter with a decorative edge.
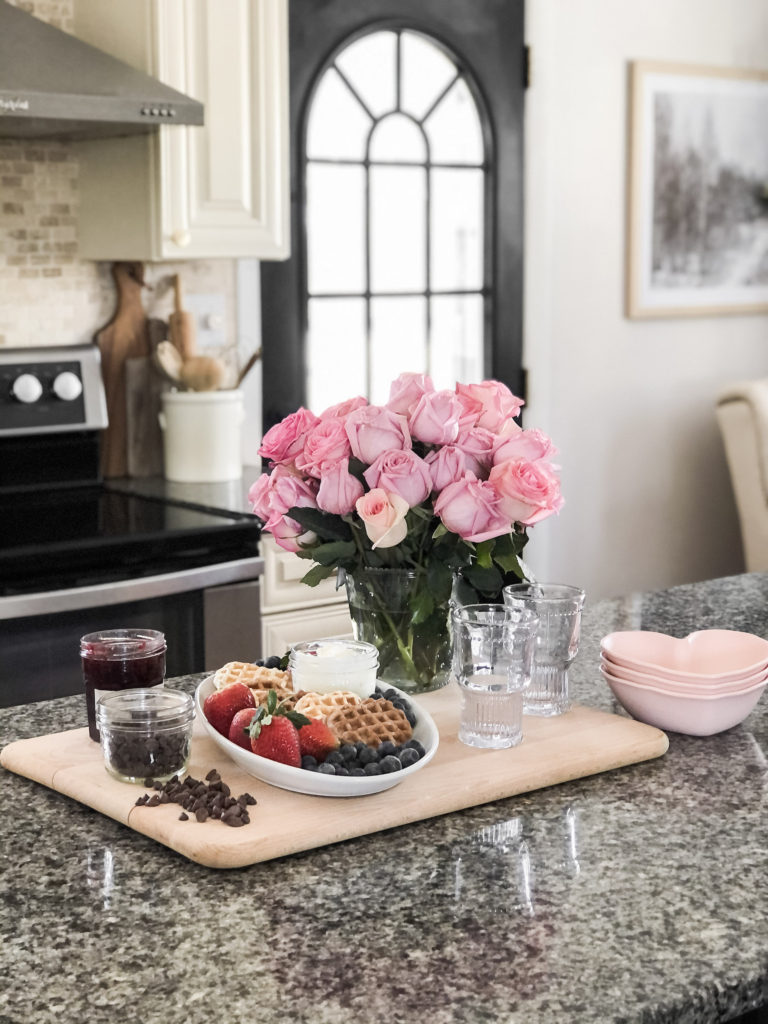
My family really enjoys this board. I usually add more fruit then waffles because of how much fruit we eat in our house. You can alter the fruit on the board to your liking. I chose red, white and chocolate to stick with my theme for Valentine’s Day. In place of waffles, you can also choose heart pancakes and add some bananas or chocolate chips to your batter.
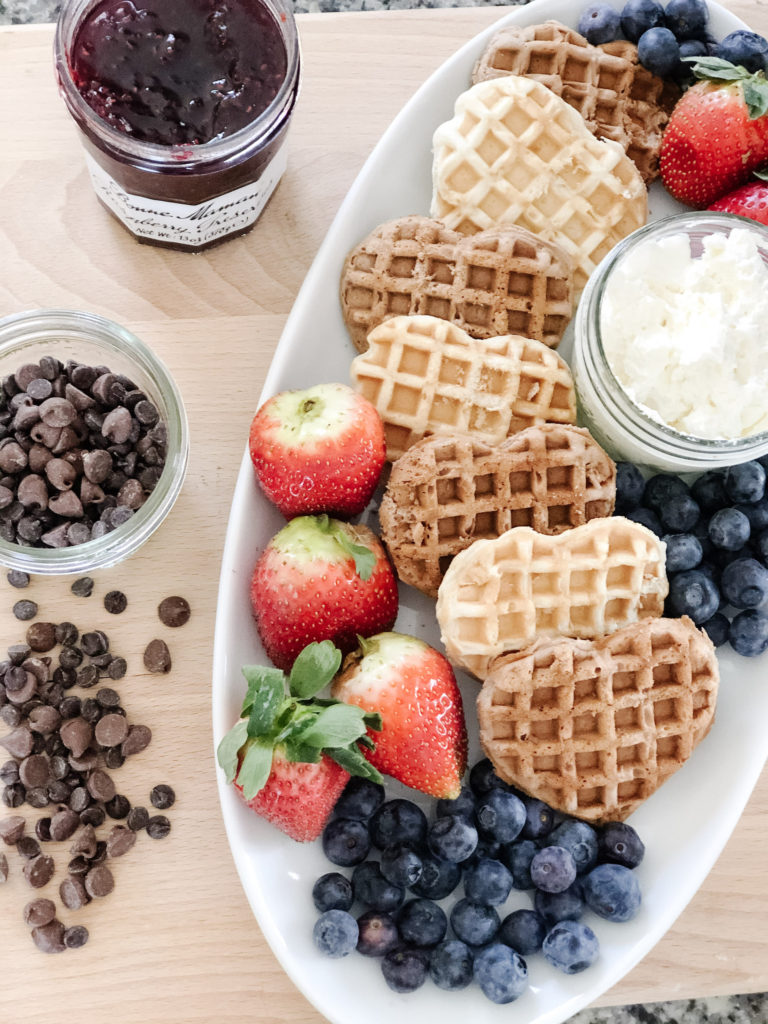
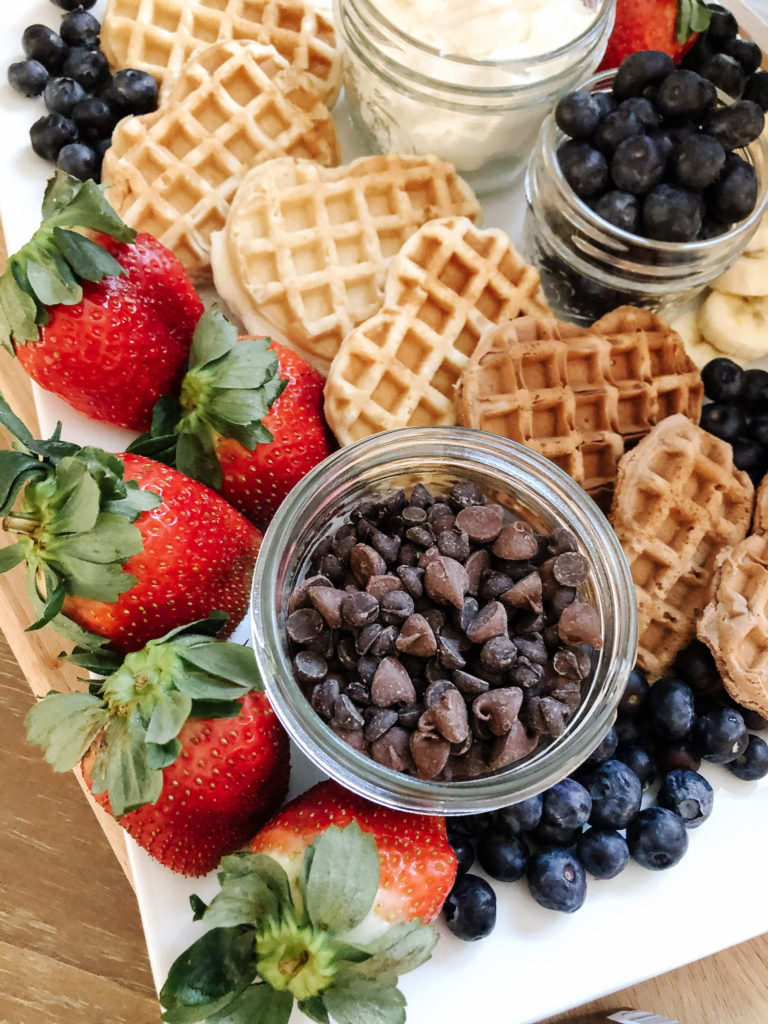
For the Valentine’s Breakfast Day board I included:
- Heart Shaped Waffles
- Cocoa Heart Shapes Waffles
- Chocolate Chips
- Raspberry Jelly Spread
- Blueberries
- Strawberries
- Fresh Whipped Cream (I added a tsp. of vanilla)
- Sliced Bananas
How to Assemble Your Valentine’s Day Waffle Board
Step 1: Choose your board or platter based upon the number of people you are serving.
Step 2: Lay out your waffles across the platter. If you used chocolate and vanilla, make a pattern effect. I chose to make them swagger a bit.
Step 3: In groups of 3-4 place our your strawberries. I chose to keep the stems on for some added color and so people could dip them into the fresh whipped cream. Place 2-3 groups on your board.
Step 4: I gathered mini canning jars. Gather together whatever small jars you have, white ones would be perfect. They will be used for the chocolate chips and whipped cream. Place the fresh whipped cream in one jar and chocolate chips in another. Place them at opposite ends of the platter. I never like two of the same item or color next to one another.
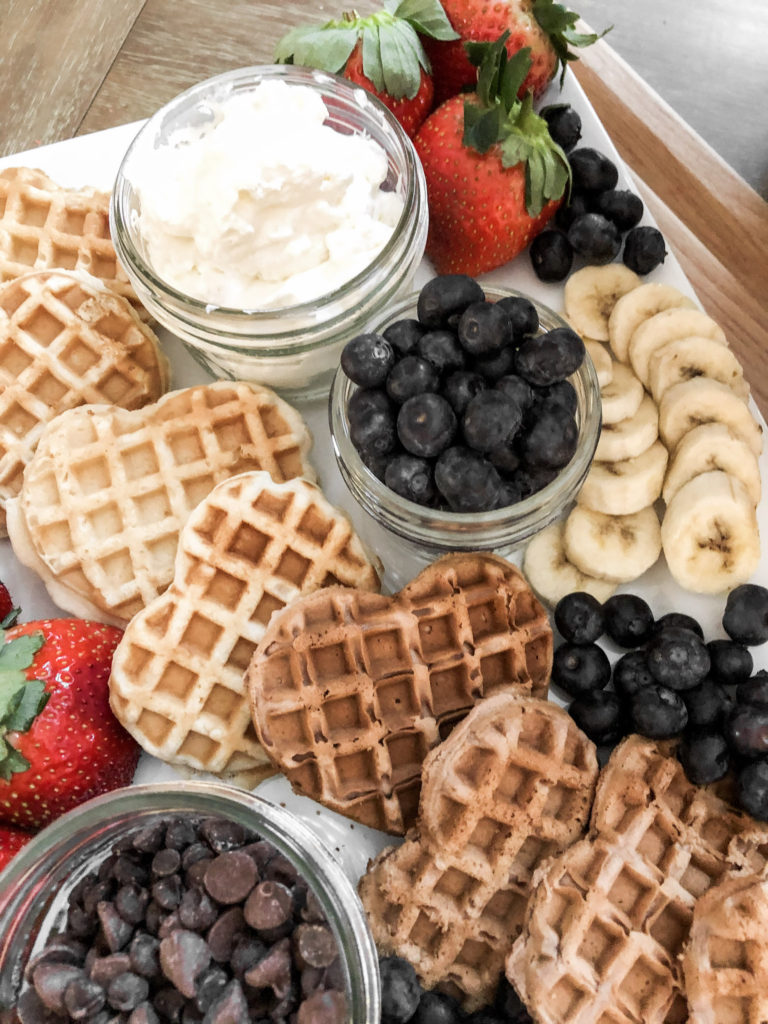
Step 4: Next, slice your bananas. I would say cut at least 20 slices and curve 10 slices around your canning jar, make two rows of them.
Step 5: Use your blueberries as filler. This is where you can incorporate raspberries too if you have them. Use them for the “white space” you still have left on your board.
Step 6: I layered a large board under my white platter for my larger event. I then placed an open jar of jam and layered on some chocolate chips. I wanted to invite my guests to dig right in.
